Year 8 Science · AC9S8U04 · Reference and practice
Rock identification.
Pick up a rock and you can usually work out what it is from a few things you can see and test: whether it is made of grains or crystals, whether it has layers or bands, how hard it is, and whether it fizzes in acid. This page has 18 common rocks as 3D specimens you can turn and magnify, the tests, a key that leads you to a name, and mystery rocks to practise on. Use it with a school rock kit, with rocks you find, or on its own.
Part 1
How to look at a rock
Geologists start with texture, which means what the rock is made of and how the pieces fit together. Colour comes later. Hold the rock close, use a hand lens if you have one, and look at a freshly broken face rather than the weathered outside, which is usually duller and browner than the rock inside. Almost every rock falls into one of three groups.
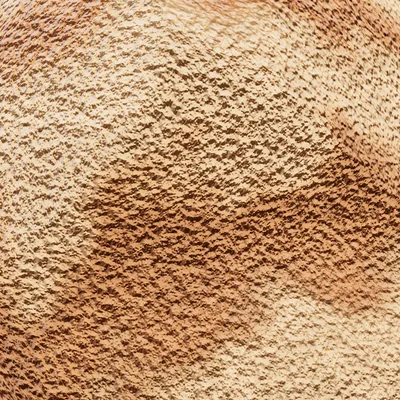 Grains stuck together
Separate grains, pebbles or pieces, held together by cement, with tiny gaps between them. Often gritty or crumbly. The pieces were once loose sediment.
Sedimentary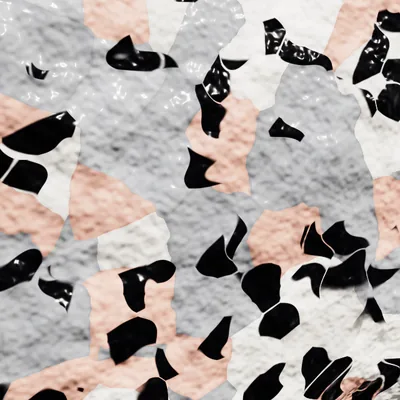 Crystals locked together
Crystals that fit together like a jigsaw with no gaps, and flat faces that flash when you turn the rock in the light. The crystals grew in place, from magma or under heat and pressure.
Igneous or metamorphic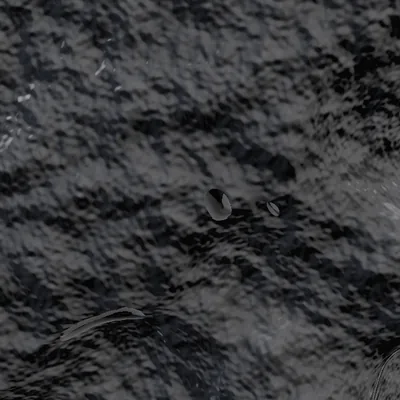 Too fine to see
No grains or crystals, even with the lens. Could be any of the three types, so the tests decide: does it fizz, does it split into sheets, how hard is it?
Any typeThen look for a pattern
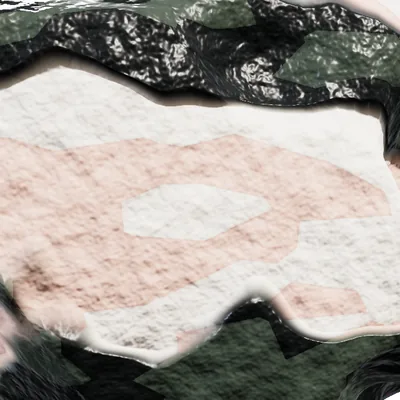 Bands or stripesGneiss. Faint stripes also in rhyolite.
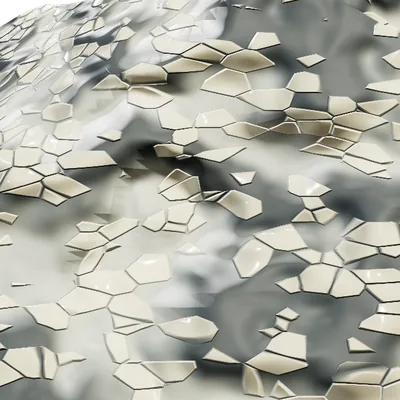 Sheets or flakesSlate, shale and schist split along them.
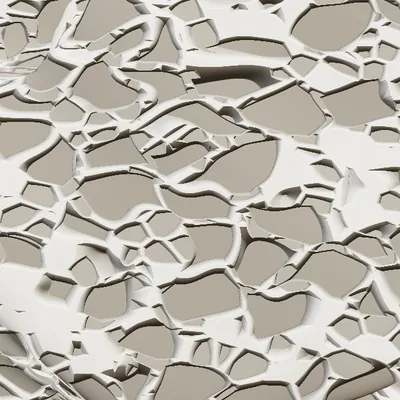 HolesGas bubbles frozen into pumice and scoria.
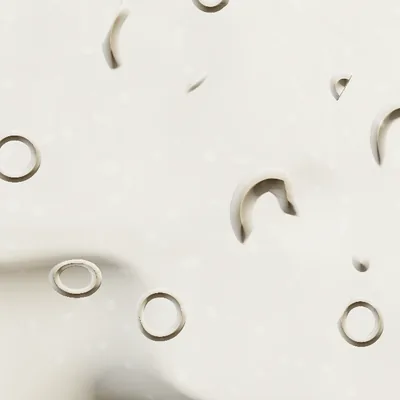 Shells or fossilsLimestone, and nothing else on this page.
The same rock can be many colours (sandstone is tan, red, cream or grey), and different rocks can be the same colour (basalt, coal, obsidian and slate are all nearly black). Colour is a useful check once you have a name, but a poor place to start.
Part 2
The tests
Looking carefully gets you most of the way, and these simple tests sort out the rest. The 3D specimens on this page come with their test results already done, so you can use them even without a real rock in your hand.
1Feel it
Rub a thumb over a fresh surface. Gritty like sandpaper means sand grains. Smooth and cool with flat faces suggests slate. Rough and scratchy with holes is scoria or pumice. Glassy and slick is obsidian.
Picks out2Heft it, and float it
Weigh the rock in your hand against another of the same size. Basalt and gabbro feel heavy for their size. Pumice, scoria and coal feel light. Drop a small piece into a bowl of water: pumice floats, nearly everything else sinks.
Picks out3The fizz test
Put a drop of vinegar on a fresh surface and watch through the hand lens for half a minute. Bubbles mean calcium carbonate, the stuff of shells. Vinegar is slow and gentle. Dilute hydrochloric acid fizzes at once, but only your teacher uses it, with goggles on.
Picks out4The scratch test
Try to scratch the rock with things of known hardness, softest first. A fingernail scratches shale and coal. A coin scratches limestone and marble. A steel nail scratches slate and loosens sandstone grains. Granite, basalt, gabbro, rhyolite, gneiss and quartzite are harder than the nail, and they scratch glass. Test a single grain where you can: a rock is only as hard as its minerals.
5Split it or break it
Look at the edges, or at how the rock broke. Slate, shale and schist split into flat sheets or flakes. Coal breaks into blocks. Obsidian breaks with smooth curved faces like thick glass. Crumbly edges with loose grains mean a sedimentary rock. Only break rock with a hammer if your teacher says so, wearing safety glasses.
Picks out6Tap it, smell it, rub it
Three quick tests. Tap a thin piece with a coin: slate rings, shale thuds. Breathe on the rock or wet it: shale smells of mud. Rub it on white paper: coal leaves a black mark.
Picks outPart 3
Use the key
A dichotomous key asks you one question at a time about the rock in front of you. Each answer either names the rock or sends you to the next question. Start at question 1 with your rock in your hand, choose the picture and description that match it best, and keep going until you reach a name. If the answer does not look like your rock, go back a step and try the other choice.
Part 4
Narrow it down
You can also start from what you can see. Tick everything you can see or test on your rock, and the rocks that do not fit drop away. Two or three rocks usually remain. Open each one to compare, and read what tells them apart.
Part 5
The 18 rocks
Every rock on this page, as a 3D specimen you can turn and magnify. The models are built to show the features in the key, so they are a bit tidier than a real hand specimen. Real rocks are weathered, chipped and dirty, and every rock type comes in more than one colour.
Part 6
Mystery rocks
Eight specimens, one at a time, chosen at random from the 18. Turn each one, use the hand lens, read its test results, and name it. Use the key if you need it. Your first answer for each specimen is the one that counts, but you can keep guessing until you get it.
Press start when you are ready.
Part 7
Take it offline
Key and record sheet
The same 15-question key on paper, with a record sheet for eight specimens and a page of notes and answers for the teacher. For use with a real rock kit.
For teachers
Curriculum
Australian Curriculum: Science, Version 9. Year 8, Science Understanding, Earth and space sciences.
AC9S8U04: describe the key processes of the rock cycle, including the timescales over which they occur, and examine how the properties of sedimentary, igneous and metamorphic rocks reflect their formation and influence their use
The page is built around the first elaboration, “comparing the observable properties of different types of rocks and identifying them using a provided dichotomous key”, and it also covers the elaboration on the uses of rocks and the two on First Nations Australians’ selection and quarrying of stone, through the “used for” notes on the rock cards.
Three ways to use it
- With a rock kit. Students run the key on real specimens, using the 3D models to check what “crystals that lock together” or “sharp-edged pieces” look like. The printable key keeps the screen out of the way.
- Without a kit. Mystery rocks (part 6) gives every student eight specimens with test results, which is more than most kits manage per student.
- With the rock cycle lesson. The lesson identifies ten rocks inside a scaffolded sequence. This page is the reference: eight more rocks, a longer key, the tests explained, and look-alike pairs. Send students here when they ask “but how do you tell marble from quartzite?”
About the key and the models
- The key covers 18 common rocks. A rock that is not on the list will still be given a name, so treat the result as a hypothesis to check against the card, not a verdict.
- Three couplets rely on tests rather than looks (fizz, hardness, splitting), so students need vinegar, a nail and a coin, or the specimen’s test results.
- The 3D specimens are computer models built to show the features used in the key. Colours and crystal sizes are typical, not exact. Real hand specimens are better wherever you have them.
- Shale and slate, sandstone and quartzite, and limestone and marble are pairs that students mix up. The cards name the difference, and the feature finder deliberately leaves such pairs standing so students have to compare them.
Safety
Vinegar is the acid for students. Dilute hydrochloric acid is a teacher demonstration with eye protection. Breaking rock needs safety glasses. Coal dust and some rock dust should not be breathed in, so wash hands and keep rocks off faces.
Saved settings
Only your text size is saved, and only in this browser. Nothing is sent anywhere.
Sources
- ACARA: Australian Curriculum, Science, Version 9
- Parks Australia: Uluru-Kata Tjuta geology
- NT Government: Karlu Karlu / Devils Marbles Conservation Reserve
- NT Government: Cutta Cutta Caves Nature Park
- Queensland Parks: Glass House Mountains, nature, culture and history
- SA Department for Environment and Water: Mount Schank State Heritage Area
- SA Department for Environment and Water: Mintaro State Heritage Area
- QUT: the 2019 Tonga pumice raft reaches Australia
- Geoscience Australia: Harts Range and Plenty River mica fields
- Reynolds, Geology of the Olympic Dam deposit (PGC Publishing)